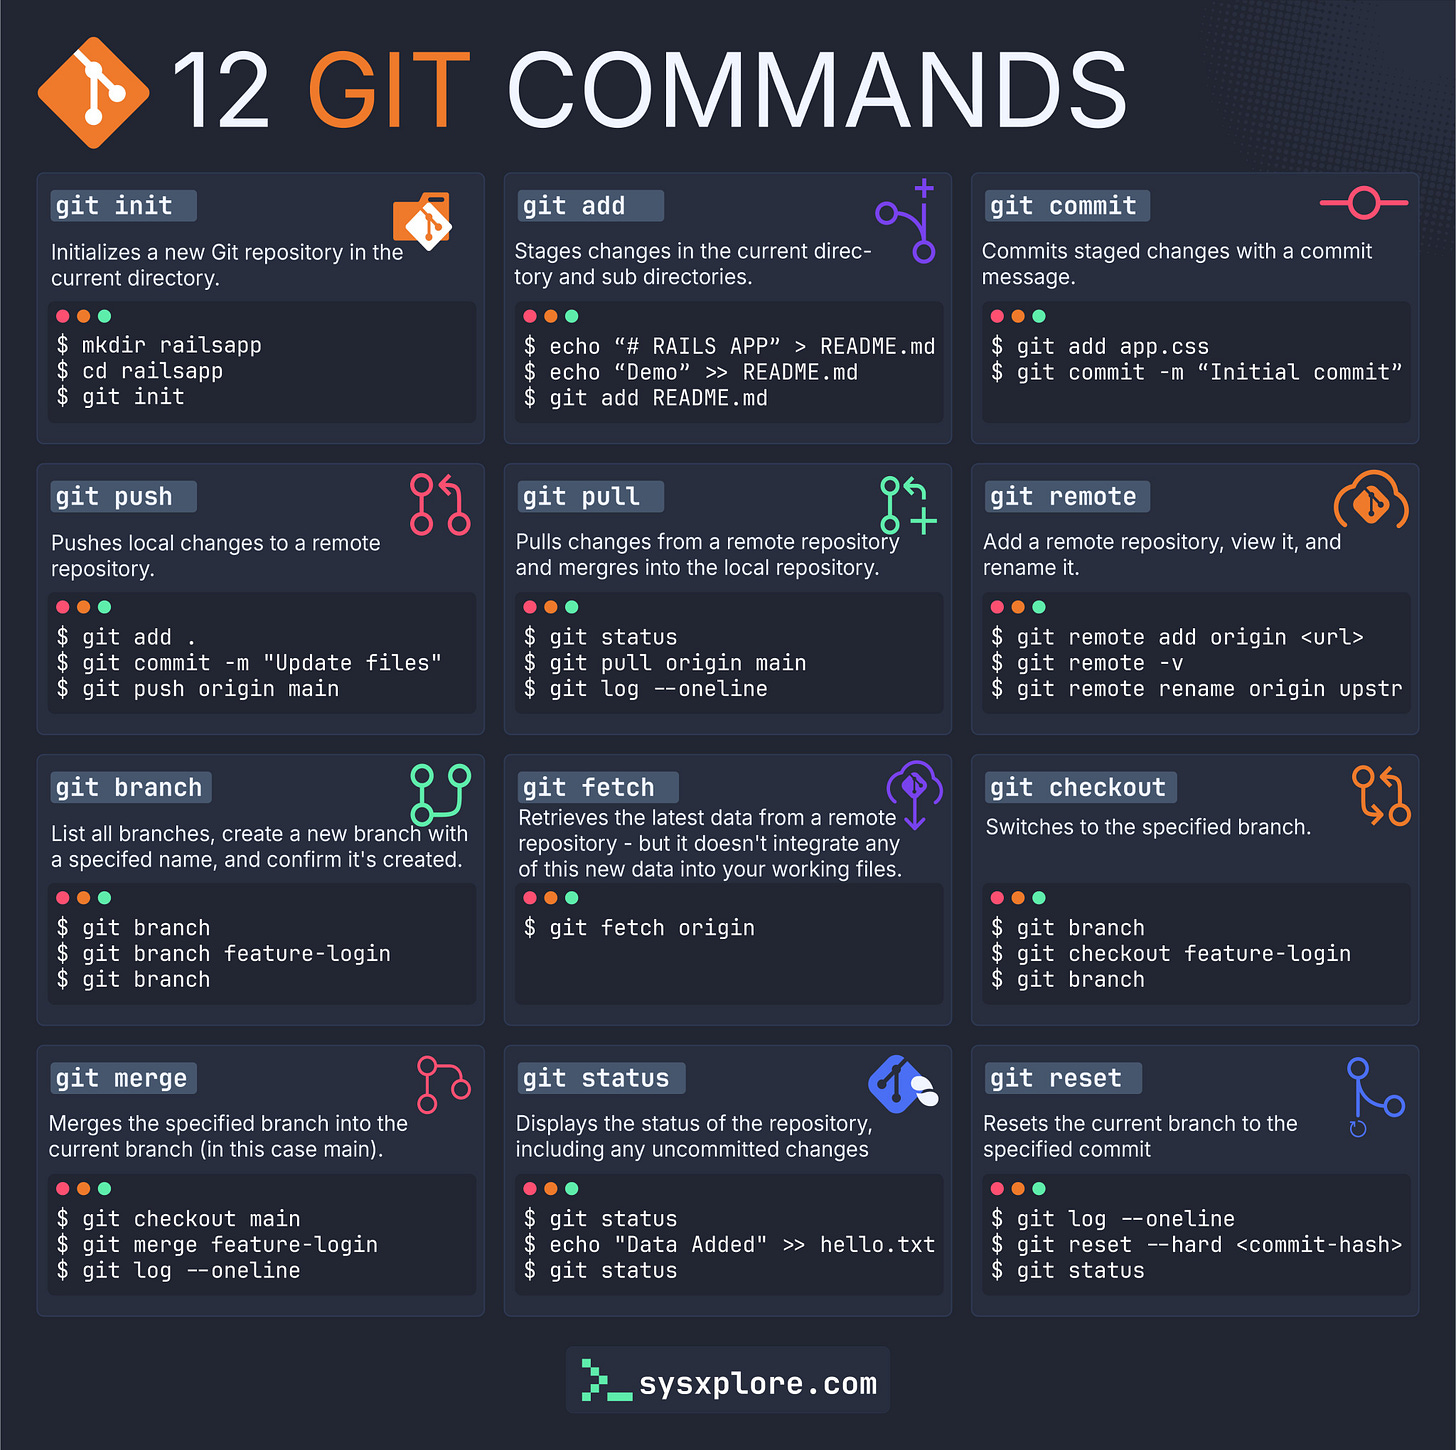
Git can feel overwhelming at first, but most developers only use a small set of commands in their daily workflow. Once you get familiar with the basics, the rest starts to click. In this guide, you’ll walk through 12 essential Git commands that cover everything from starting a new repository to pushing your changes to a remote server.
Let’s dive in.
1. git init: Starting from Scratch
This is the command that kicks everything off. When you're beginning a new project and want Git to track changes, use:
$ mkdir railsapp
$ cd railsapp
$ git init
This initializes a new Git repository in the current directory, allowing you to start tracking versions of your files.
2. git add: Staging Changes
Before Git can track a change, you need to stage it. Think of this step as prepping files for a snapshot.
$ echo "# RAILS APP" > README.md
$ git add README.md
Use git add to move changes into the staging area, where they await your confirmation to be committed.
Want a quick visual reference?
Here’s a handy infographic that sums up all 12 commands in one glance:
If you like having clean, printable references on hand, download the full PDF cheatsheet here and explore our growing collection of high-quality Git and Linux resources.
3. git commit: Lock in the Snapshot
Once you’ve staged your changes, it’s time to save them with a message that tells others (and your future self) what you did.
$ git commit -m "Initial commit"This creates a new checkpoint in your repository’s history.
4. git status: What’s Going On?
Not sure what’s staged, modified, or ready to commit? git status has your back.
$ git statusUse this often—it’s like your Git dashboard, telling you the state of your workspace.
5. git branch: Working on Multiple Features
Branches let you work on features without touching your main project code.
$ git branch          # List all branches
$ git branch login    # Create a new branch
Want to verify your new branch was created? Run git branch again.
6. git checkout: Switching Lanes
Once you’ve created a new branch, git checkout lets you switch to it.
$ git checkout loginNow you're working in an isolated environment for that feature or fix.
7. git merge: Bringing It All Together
When your feature is ready, it's time to bring it back into the main project.
$ git checkout main
$ git merge login
This merges your changes from the login branch into main.
8. git push: Share Your Changes
Once your local changes are ready to be shared, use git push to send them to a remote repository.
$ git add .
$ git commit -m "Add login feature"
$ git push origin main
This is how collaboration happens—your teammates can now see your work.
9. git pull: Bring in Updates
If you’re working with others, use git pull to fetch and integrate changes made to the remote repository.
$ git pull origin mainThis keeps your local project up to date.
10. git fetch: Look, But Don’t Touch
Sometimes you just want to see what’s changed on the remote without actually merging it into your working directory.
$ git fetch originThis retrieves changes, but leaves your working directory untouched—perfect for reviewing changes before taking them in.
11. git remote: Connecting to the Cloud
Your local Git repo doesn’t mean much without a remote. Use git remote to manage your connections.
$ git remote add origin <url>
$ git remote -v
$ git remote rename origin upstream
You can add, view, or rename remotes as needed.
12. git reset: Rewind with Caution
Need to undo a bad commit? git reset can take your branch back to a previous state.
$ git reset --hard <commit-hash>This erases all changes after the specified commit, so use it carefully.
That’s a Wrap
That’s it! If you found this guide helpful, pass it along to a fellow dev or team member. And if you want more articles, guides, and free downloadable resources, subscribe to our newsletter — we’ve got plenty more coming your way.


